Multidimensional and Multipass Terrain Generation with Noise
7 min read
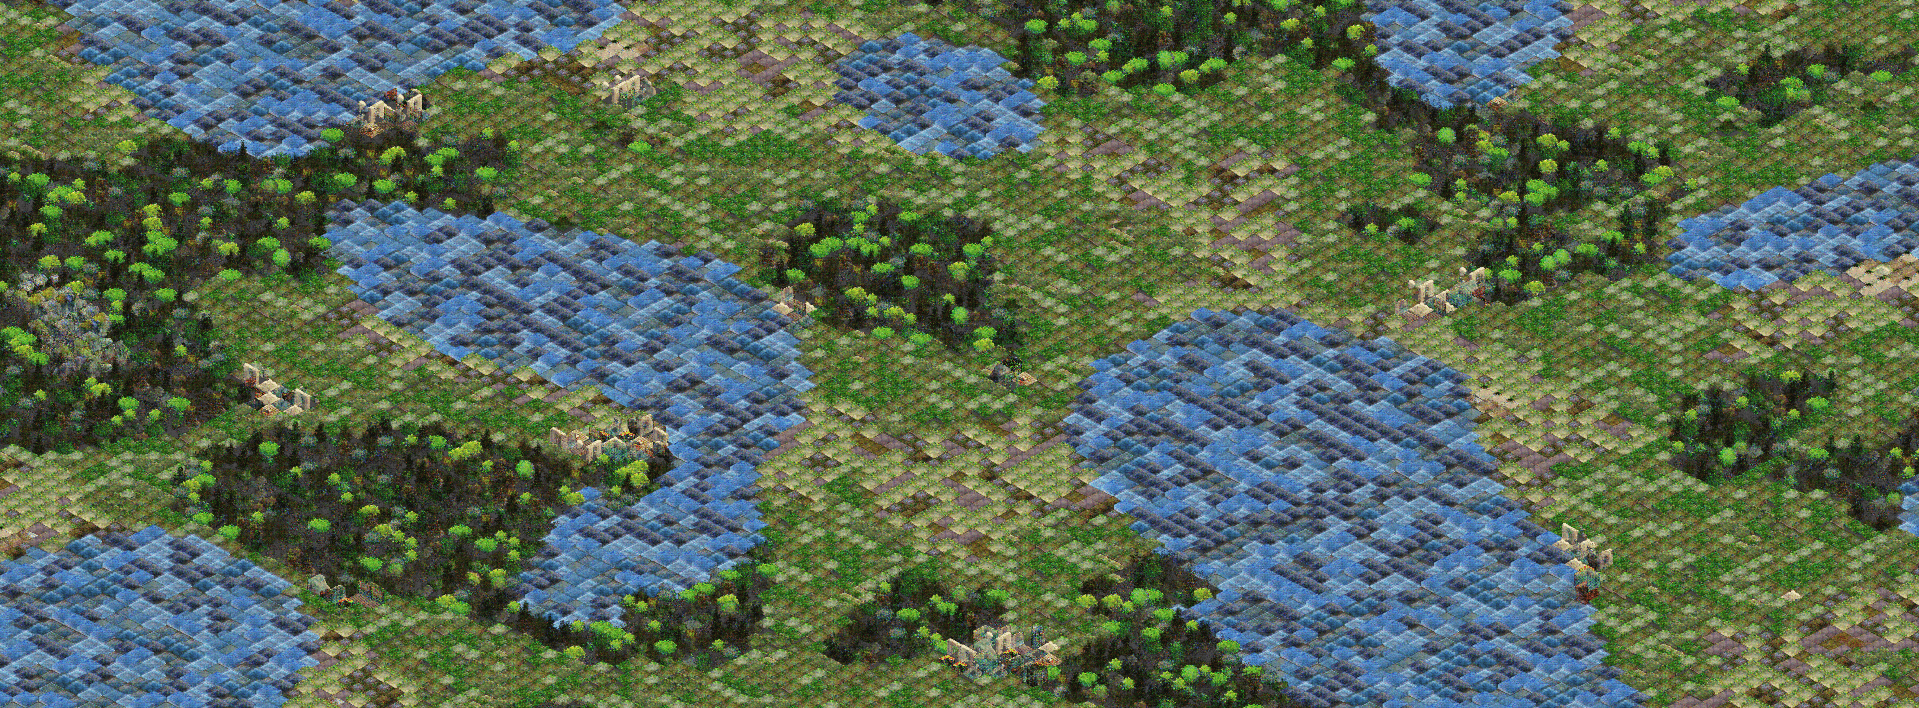
Recently I came across Mushy asset pack, an isometric tileset that had been generated by training a neural network on a bunch of creative-commons sprites. Naturally, I wanted to use it in some procedural terrain generation, but after I started working on a prototype I realized I wanted an easy way to tweak the generation. The end result is what I call the “procedural generation ruleset,” an easy to read and modify format that creates a set of rules a processor uses to generate terrain.
The Goal
I sat down with one of my very helpful friends and got to work on some requirements:
- Create an easy to read and easy to edit format for quick design iteration
- Let the generation take into account multiple dimensions (height moisture, population, etc)
- Allow multiple passes that modify the terrain value
- Return a single value for a given x,y combination, allowing the processor to be used with use cases other than terrain generation
With the given requirements we could think of a few different approaches.
Hard-code in a massive chain of if-elif statements. This was messy and definitely felt like a prototype. I wanted a format that allowed the user to input an x and y value (0.0–1.0) to get a value out.
Use an image to look up the terrain value. This kind of worked at first but, while it was easy to understand visually, it wasn’t very easy to edit.

It let you easily weight a terrain type visually though, to increase its y-axis range just make the rectangle taller and to increase its y-axis range just make the rectangle wider. This format would require the parser to somehow map the colors to values, and to use multiple dimensions or passes we would either need to use different channels in the image or use multiple images.
Create a custom format using characters for each terrain type. This seemed promising at first! If you wanted a terrain that was split up between water, dirt, plants, mountains, and snow, you could use the following:
mms
dpp
www
www
We could weight different terrain types in a similar fashion to the image though, just add more rows to make its y-axis range taller (the w character above) and add more characters in the row (the p and m characters above) to make its x-axis range wider. This was showing promise, but we would still need multiple blocks of text when wanting to use more than one iteration and it didn’t have an easy way to designate an axis for a map.
A custom format based on YAML. YAML fits parts of the requirements already; it’s easy to read, edit, and parse. Anyone can edit it without relying on autocomplete or syntax highlighting. Better yet, it gave us the flexibility to add more features: process multiple passes by adding more lists to the file, allow numerical or string-based keys, and easily add extra parser rules as we need them.
The Procedural Generation Ruleset
The Parser
A basic version of the YAML config file looks like the following:
The parser is able to read it in the following steps:
- The first line designates the x and y axis values to use for the next set of rules.
- Lines 2–4 designate a weight to use for the y-axis value, followed by the
@symbol and a comma seperated list of x-axis weights and associated tile names. - The probability of each weight on the y-axis is processed bottom-up (so it visually looks like a chart). Line 4 has the rules for when the y-axis is near 0 and line 2 has the rules for when the y-axis is near 1. With a little imagination, it almost looks like the image method above!
-
Starting with the bottom line and building up, the upper bound for each region can be calculated as
(previous_weights + current_weight) / total_weights. The above config can be calculated as:- line 4 has a weight of 3/6 and a height range of 0≤
y≤0.5 - line 3 has a weight of 2/6 and a range of 0.5<
y≤0.83 - line 2 has a weight of 1/6 and a range of 0.83<
y<1.0
- line 4 has a weight of 3/6 and a height range of 0≤
-
The x-axis works the same, but it is processed from left to right.
-
Line 5 indicates a pass to process after the first set of rules, the same as step 1 in this list. The
tilekeyword has a special meaning, using the resulting tile from the previous passes to get the associated rules. - Lines 6–7 are similar to steps 2–5 in this list, but using the current tile value as the key for the y-axis.
There are a few special cases for each resulting tile as well. Using the := operator in a rule indicates that the value should be returned immediately, ignoring later rules. A tile type y-axis can have multiple comma-seperated keys for a row. If the result of a value is a -, the processor is not to modify the current value and return the original key instead.
The Processor
Say we have a height of 0.55, a moisture value of 0.75, and a population of 0.1. Using the above config the processor would start at the bottom of the set of rules (line 4) and check if 0.55 was smaller than 3/6. The comparison fails and compares itself against line 3 and gets a match. Then the processor uses the moisture value to check if 0.75 was less than 1/5 and 3/5 before matching and returning the result of grass.
For the second pass, the processor would use the current grass value, matching on line 7. Processing left to right it passes when the population of 0.1 is less than 1/4 and gets a value of -. Since that is a special ignored character, the processor would return the original grass value and complete processing.
The Enhancements
We can also add some advanced features to the format. We can add in multiple passes and check against multiple dimensions. An example of these rules would be:
We start with a curse pass that returns immediately if successful, if unsuccessful our second pass starts on line 3. Line 6 adds another dimension, making the returned tile the result of height*moisture*fertility. We also add another pass on line 12, indenting it to visually show the dependency of the tile axis with the previous rules.
In the YAML file we can add configuration for any noise generators the processor would need when generating. We can also add a list of aliases so we can use a short and easy name when writing our passes and return the expected final value (i.e. curse is aliased as 4_extended from the mushy textures).
Though not currently implemented, we could also add additional operators in the future. The ~ operator could allow any tile resulting from the previous rules to match, and a ^ operator could match any tile but the listed to match.

The Demo
Thank you for reading! I hope you found reading the design process as interesting as I found it to create. You can play with an interactive demo with a small download (~30mb) available here or find the project on my GitHub here (MIT licensed). The demo was made with Godot, an awesome FOSS game engine.